Introduction
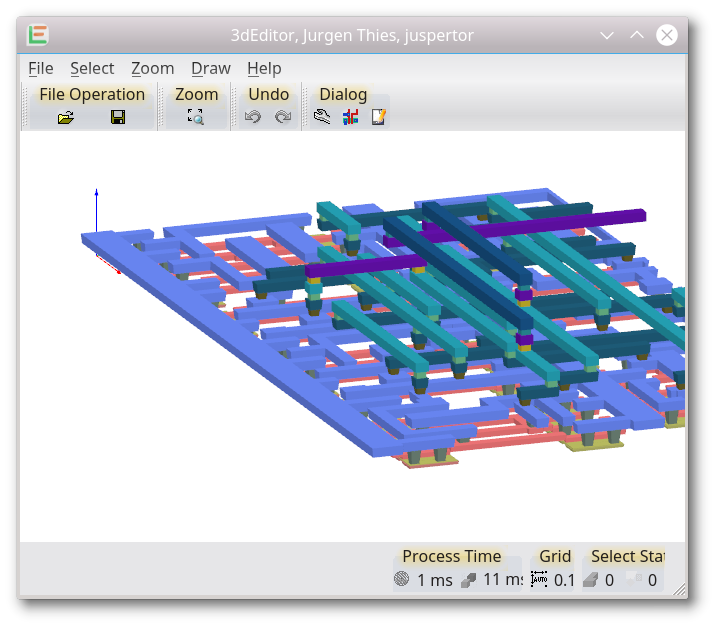
A two dimensional desig can sometimes be quite abstract. The LayoutEditor allows easy three dimensional visualization of your design. The graphic setup can be done in few seconds. The 3D model/3D view can be exported and used, for example in a FEM-analysis.
Getting Started
The 3d editor is integrated into the LayoutEditor. To open the 3d window press the corresponding button in the Dialog toolbar. Alternatively you can start the 3d editor by starting the LayoutEditor with the command line option --3dedit. Opening the 3d window will always show the 3d dock window inside the main LayoutEditor window to generate 3d designs from a 2d layout.

User interface
The user interface is similar to the user interface of the normal 2d layout of the LayoutEditor: There is a main drawing area in the middle. By pressing and holding the right mouse key, the design can be moved. A rotation of the view is done a holding the left mouse key. A context menu is available by pressing the right mouse key. Selecting is done by pressing the left mouse key. The select statistic is shown in the lower right.
There are two types of entries for a design:
- Meshes for volumes/surfaces, always belonging to a layer
- references to other 3d cells, hierachical designs can be used in the same way as in the 2d layout
The concept of userunits and database units is identical to the 2d layout. It can be set independently to the 2d layout.
Editing
The editing works similarly to the 2d design. Basic editing features are in the Draw menu and in the context menu. For 3d Boolean Operations, the external Tool OpenSCAD is used. The entries for it will only be visible if the tool is found on your system. Some packages include it (Windows) however on Linux it is marked as an independend package so it should be installed automatic. On Mac it has to be installed manually.
© 2026 juspertor GmbH