Starting Macros
There is by far more than one way to start a macro. The most common way to start it will be the Execute button in the integrated TextEditor after loading the macro into it. Always the current displayed macro/script will be executed. This will work for C++ scripts as well as for Python scripts.

Alternative there is a Execute Macro feature in the menu of most windows. In the layout window it is located under Utilities/Macros/Execute Macro. By calling it a file dialog is opened to choose the macro that should be executed. The execution is directly started afterwards.
Next to these most common ways there are several other ways to start a macro:
Integrated Command Line
With a TAB-key click from the main drawing of the LayoutEditor or a right click on an empty toolbar area and choosing the command line a new dock window will be opened. In this window a single macro command can be entered. These command are directly executed. This command line accepts next to the full macro notation a short form of all commands of the class drawingField. You can advoid the entry of the leading layout->drawing-> and just need to enter the method name you want to execute. Furthermore any braces, commas and semicolons are superfluous. So a command line sequence can look like:
p 0 0
p 10 20
p 30 0
polygon

selectAll
p 0 0
rotate 90

scaleFull
Adding a Macro to the Menu
Any macro can be added to any location in the menu tree. To do so the macro just needs to be stored in the correct place. In the setup macro directories can be defined. Any macro in one of these folders will be added to the menu. The location is determine by its location within this directory tree. The first level of sub-folder determine in which window it is placed. (layout, schematic, textEdit or layout3d). Further sub-folder will be the sub-menu where it is placed. During program launch these directory-tree is scanned and added to the correspondent place in the menu. If you have stored a new macro inside the tree, you had to call Update Macros to rescan the tree for new macro or restart the LayoutEditor.
Several feature of the LayoutEditor are realized by macros and added to the menu in the identical way. So the macros folder of the LayoutEditor package is listed in the setup by default.
Adding a Macro to a Toolbar
Macros can also be added to toolbars. Like toolbar adjustment itself macros can only be added to a toolbar by macro command: layout->addMacroToolButton(string macroName, string parameter, string iconFileName) will add a new button to the toolbar Macros.
You need to call this command anytime after opening a new window. To avoid that it is recommended to do the toolbar setup inside a Autostart-Macro.

Autostart Macro
A autostart macro is a macro that is executed on a defined trigger by the LayoutEditor in a automatic way. The trigger and the name of the macro is set in the setup dialog. Only a single macro can be set as autostart macro. You can detect in the macro which action has triggered the macro.
Example:
#!/usr/bin/layout
#name=autostart
#help=example of an automatic start macro

int main(string trigger){
 debug.clear();
 debug("the autostart macro was triggered by");
 debug(trigger);
 debug.show();
 return 0;
}
Autostart macros are usefull for initial setups like adjusting userunits, prepare own toolbars, adjust short cuts etc. Defined triggeres on autostart macros were introduced with version 20180420. If the trigger 'layoutStart' and 'layoutNew' is set, the macro is only executed once during LayoutEditor launch.

Command Line
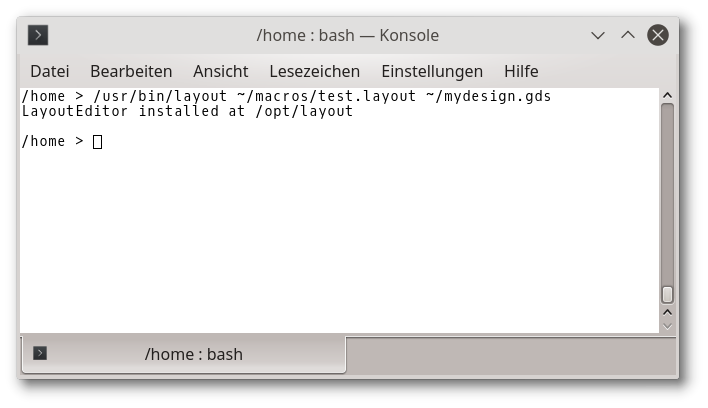
A macro can also be triggered from the command line of your operating system. Just add the filename of the macro as parameter when starting the LayoutEditor before the design name you want to edit with this macro. The edited design will be store and the LayoutEditor quit once the macro is completed. No user interface will show up.
Callback Macros
Identical to the autostart macro callback macros will be triggered by an event. This can be the completion of an external tool started by the LayoutEditor or the modifiaction of parameters in the SchematicEditor. In some schematic libraries formats only the name of an callback can be specified, not its folder. In the setup you can define a folder where this macro is searched. This path will also effect callback for the iPDK in TCL.
In contrast to the autostart macro the executed callback macro depends on the event and is set in the data that triggers the event. So for example if a callback macro should be called on the completion of an external tool, this callback macro had to be named when calling the external tool and it will only be called for this single event. Or if the callback should be called on change of a specified parameter of a schematic device, the macro had to named in the configuration of the device and only the single parameter modification will trigger this macro.
Parametric Cell Macros
Paramertic Cell Macro are macro that create a layout from a set of parameter, usually triggered from the SchematicEditor. This layout will represent the layout for an device in the schematic. Macros with parametric cells have special functions to read out the parameter from the schematic device that has triggered the macro. (especially iPar('parameterName')) To be able to develope such macros without an schematic there is an additional compiler command #parameter {type} name value suppliering the macro with default values for the required parameters.
Example:
#!/usr/bin/layout
#name=circle
#help=generate a circle

//parameter with default value
#parameter radius "100µm"
#parameter layer "1"

int getLayer(string s){
int l=layers::findLayer(s);
if (l<0) l=s.toInt();
if (l<0) l=0;
return l;
}

int databaseunits(string s){
// return database units of the string s
int i;
double convert=0.001; //default mm if no units;
if (s.contains("mm")){
    convert=0.001;
    s.remove("mm");
    }
if (s.contains("um")){
    convert=0.000001;
    s.remove("um");
    }
if (s.contains("µm")){
    convert=0.000001;
    s.remove("µm");
    }
if (s.contains("nm")){
    convert=0.000000001;
    s.remove("nm");
    }
if (s.contains("cm")){
    convert=0.01;
    s.remove("cm");
    }
if (s.contains("dm")){
    convert=0.1;
    s.remove("dm");
    }
if (s.contains("m")){
    convert=1;
    s.remove("m");
    }
double d=s.toDouble()*convert/layout->drawing->databaseunits;
element e;
i = e.round(d);
return i;
}

int main(){
int radius=databaseunits(iPar("radius"));
int layer=getLayer(iPar("layer"));
string cellname="circle"+userunits(radius)+"_"+layer;
if (layout->drawing->existCellname(cellname)) {
    layout->drawing->setCell(cellname);
    return 0;
    }
cellList *cl=layout->drawing->addCell();
cl->thisCell->cellName=cellname;
layout->drawing->setCell(cellname);
layout->drawing->activeLayer=layer;
layout->drawing->point(0,0);
layout->drawing->point(radius,0);
layout->drawing->circle();
}© 2026 juspertor GmbH